Building Final Installation
All team members are back on campus! Each week, we have dedicated about 2-3 hours on building the installation located in Pittsburgh.
So far we have faced a few small hurdles, such as malfunctioning buttons or faulty wires, but we have made it to building the final product!
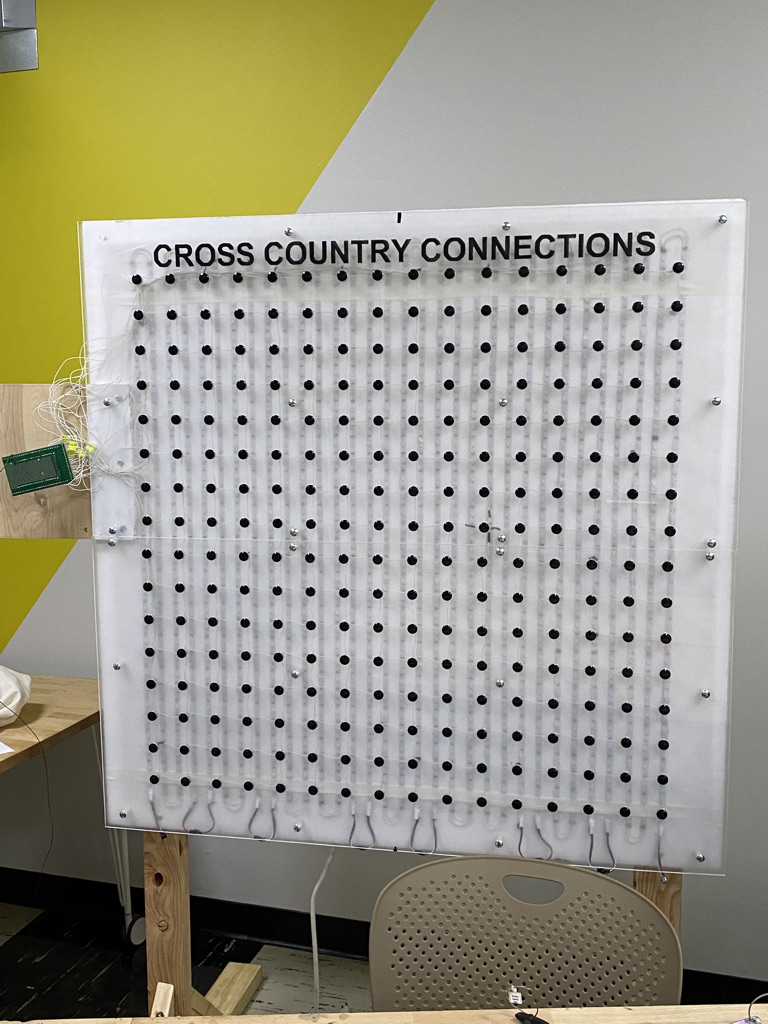
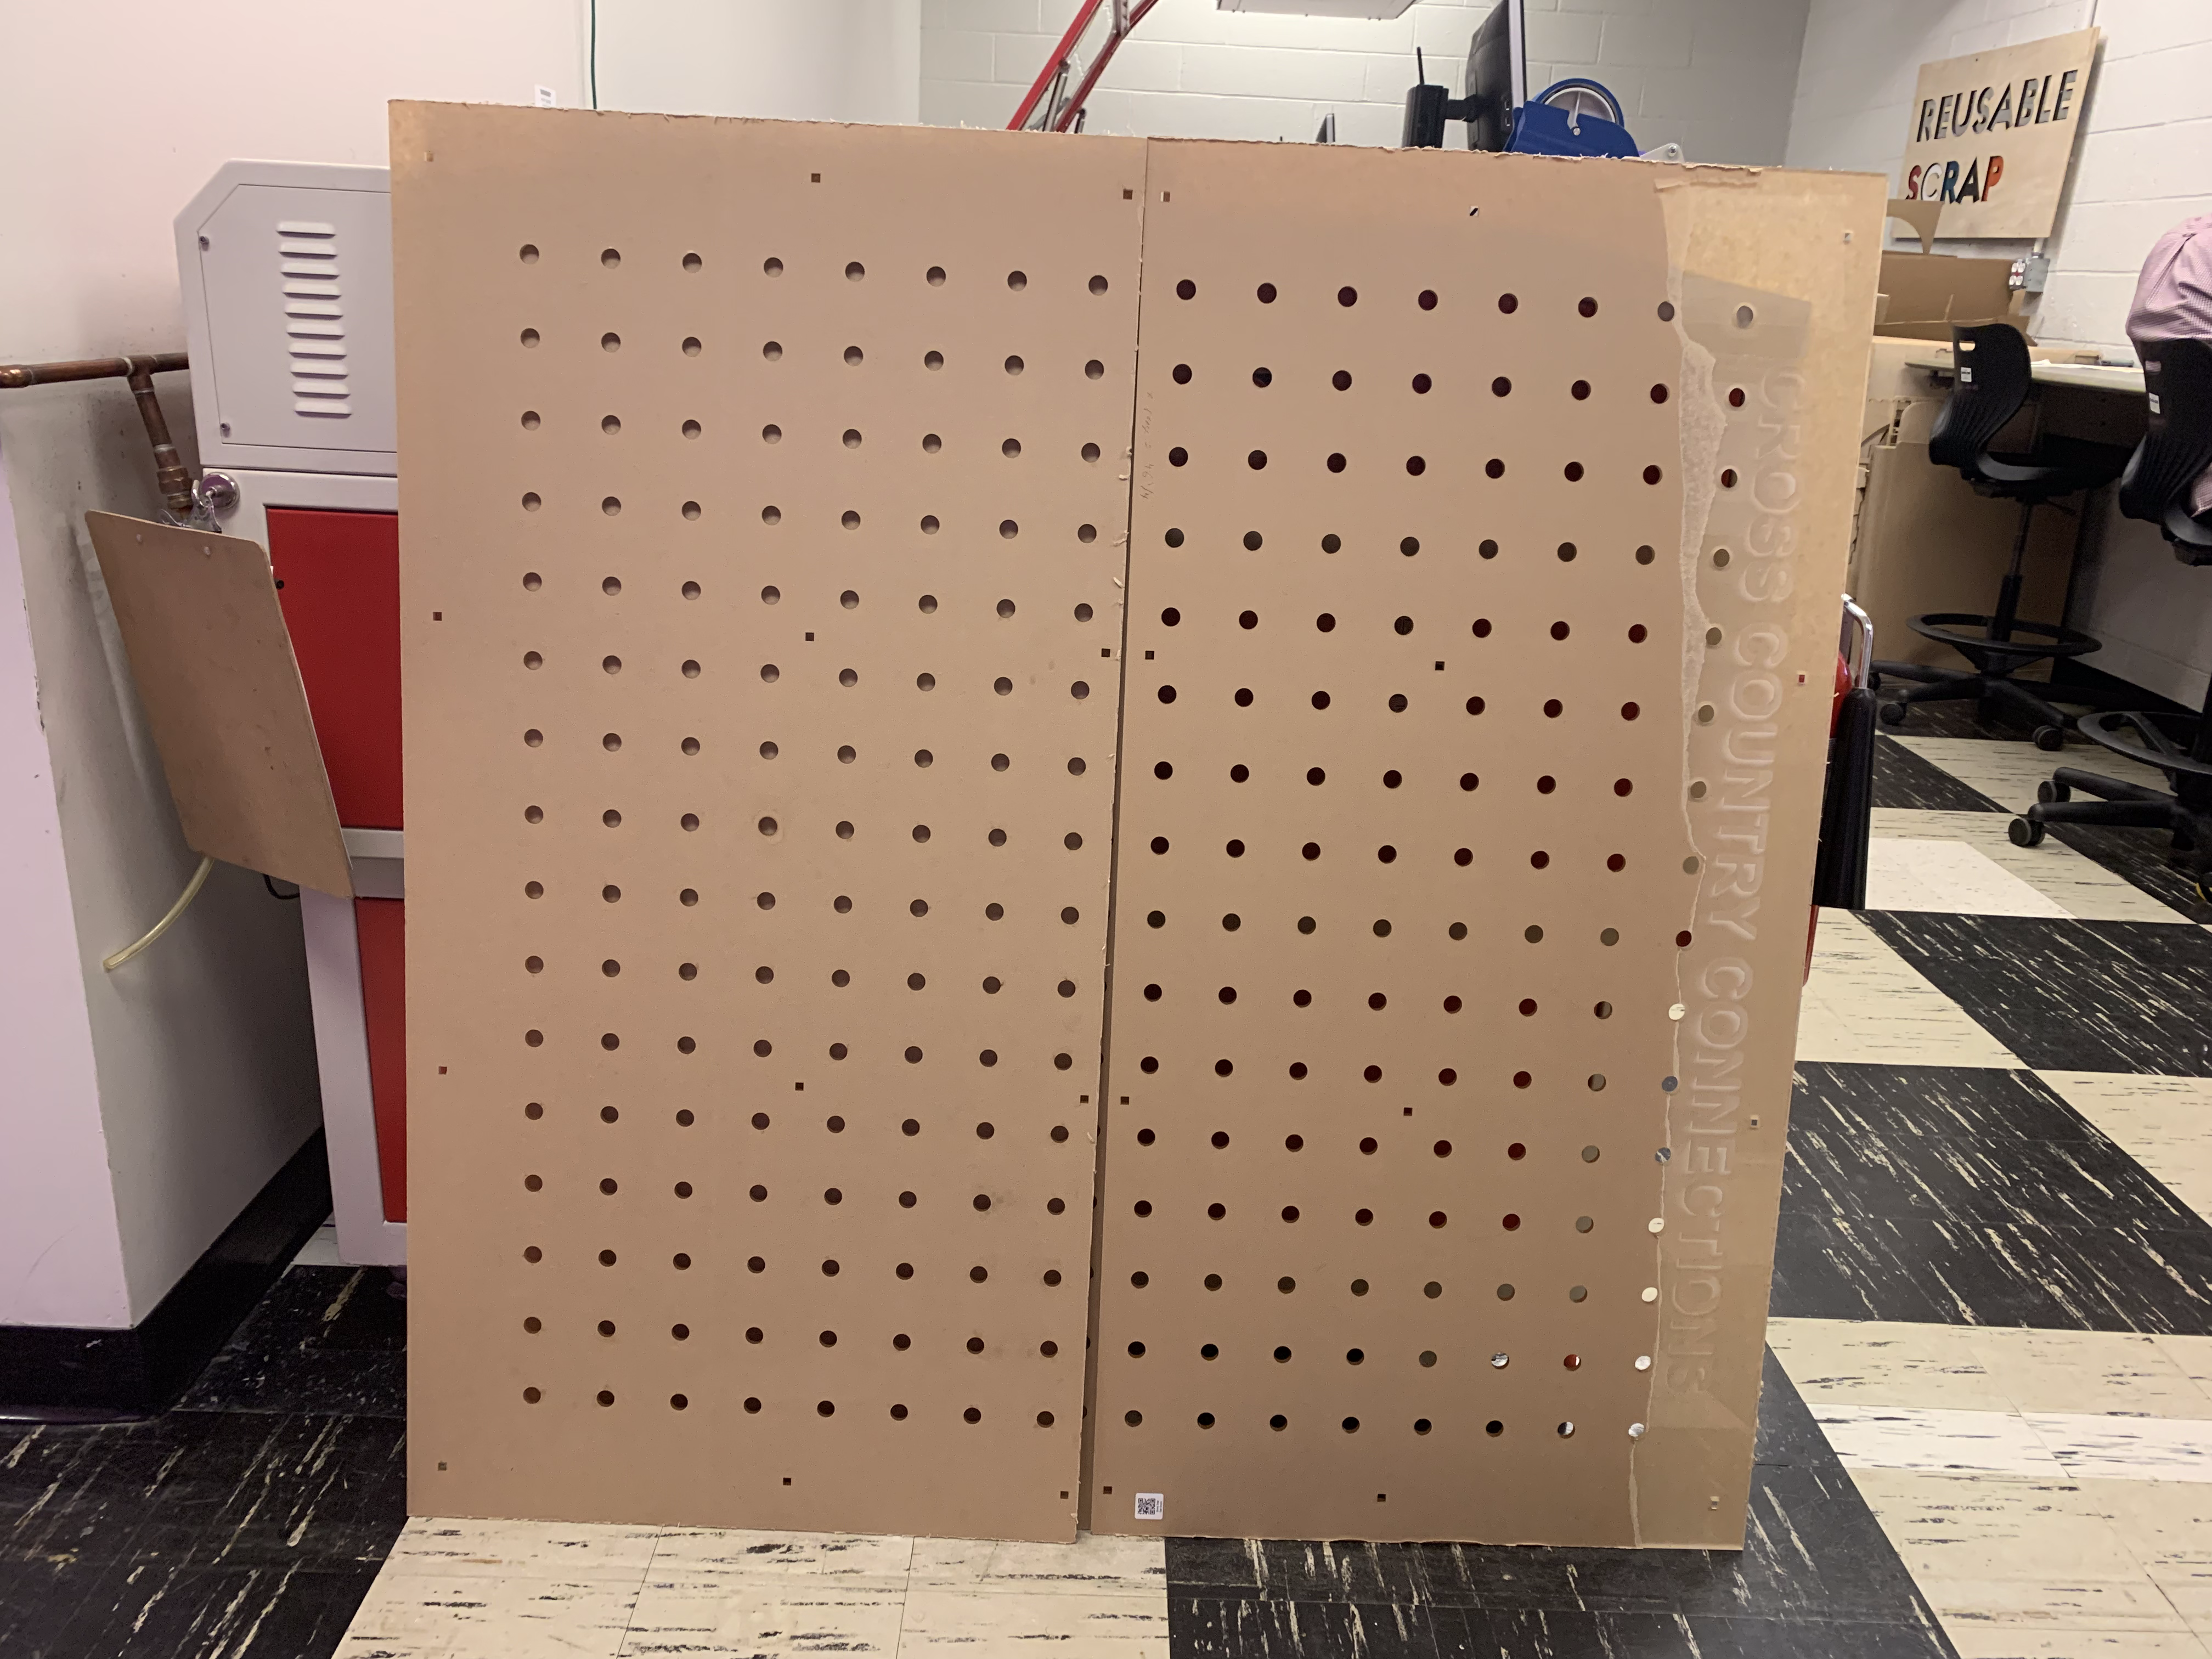
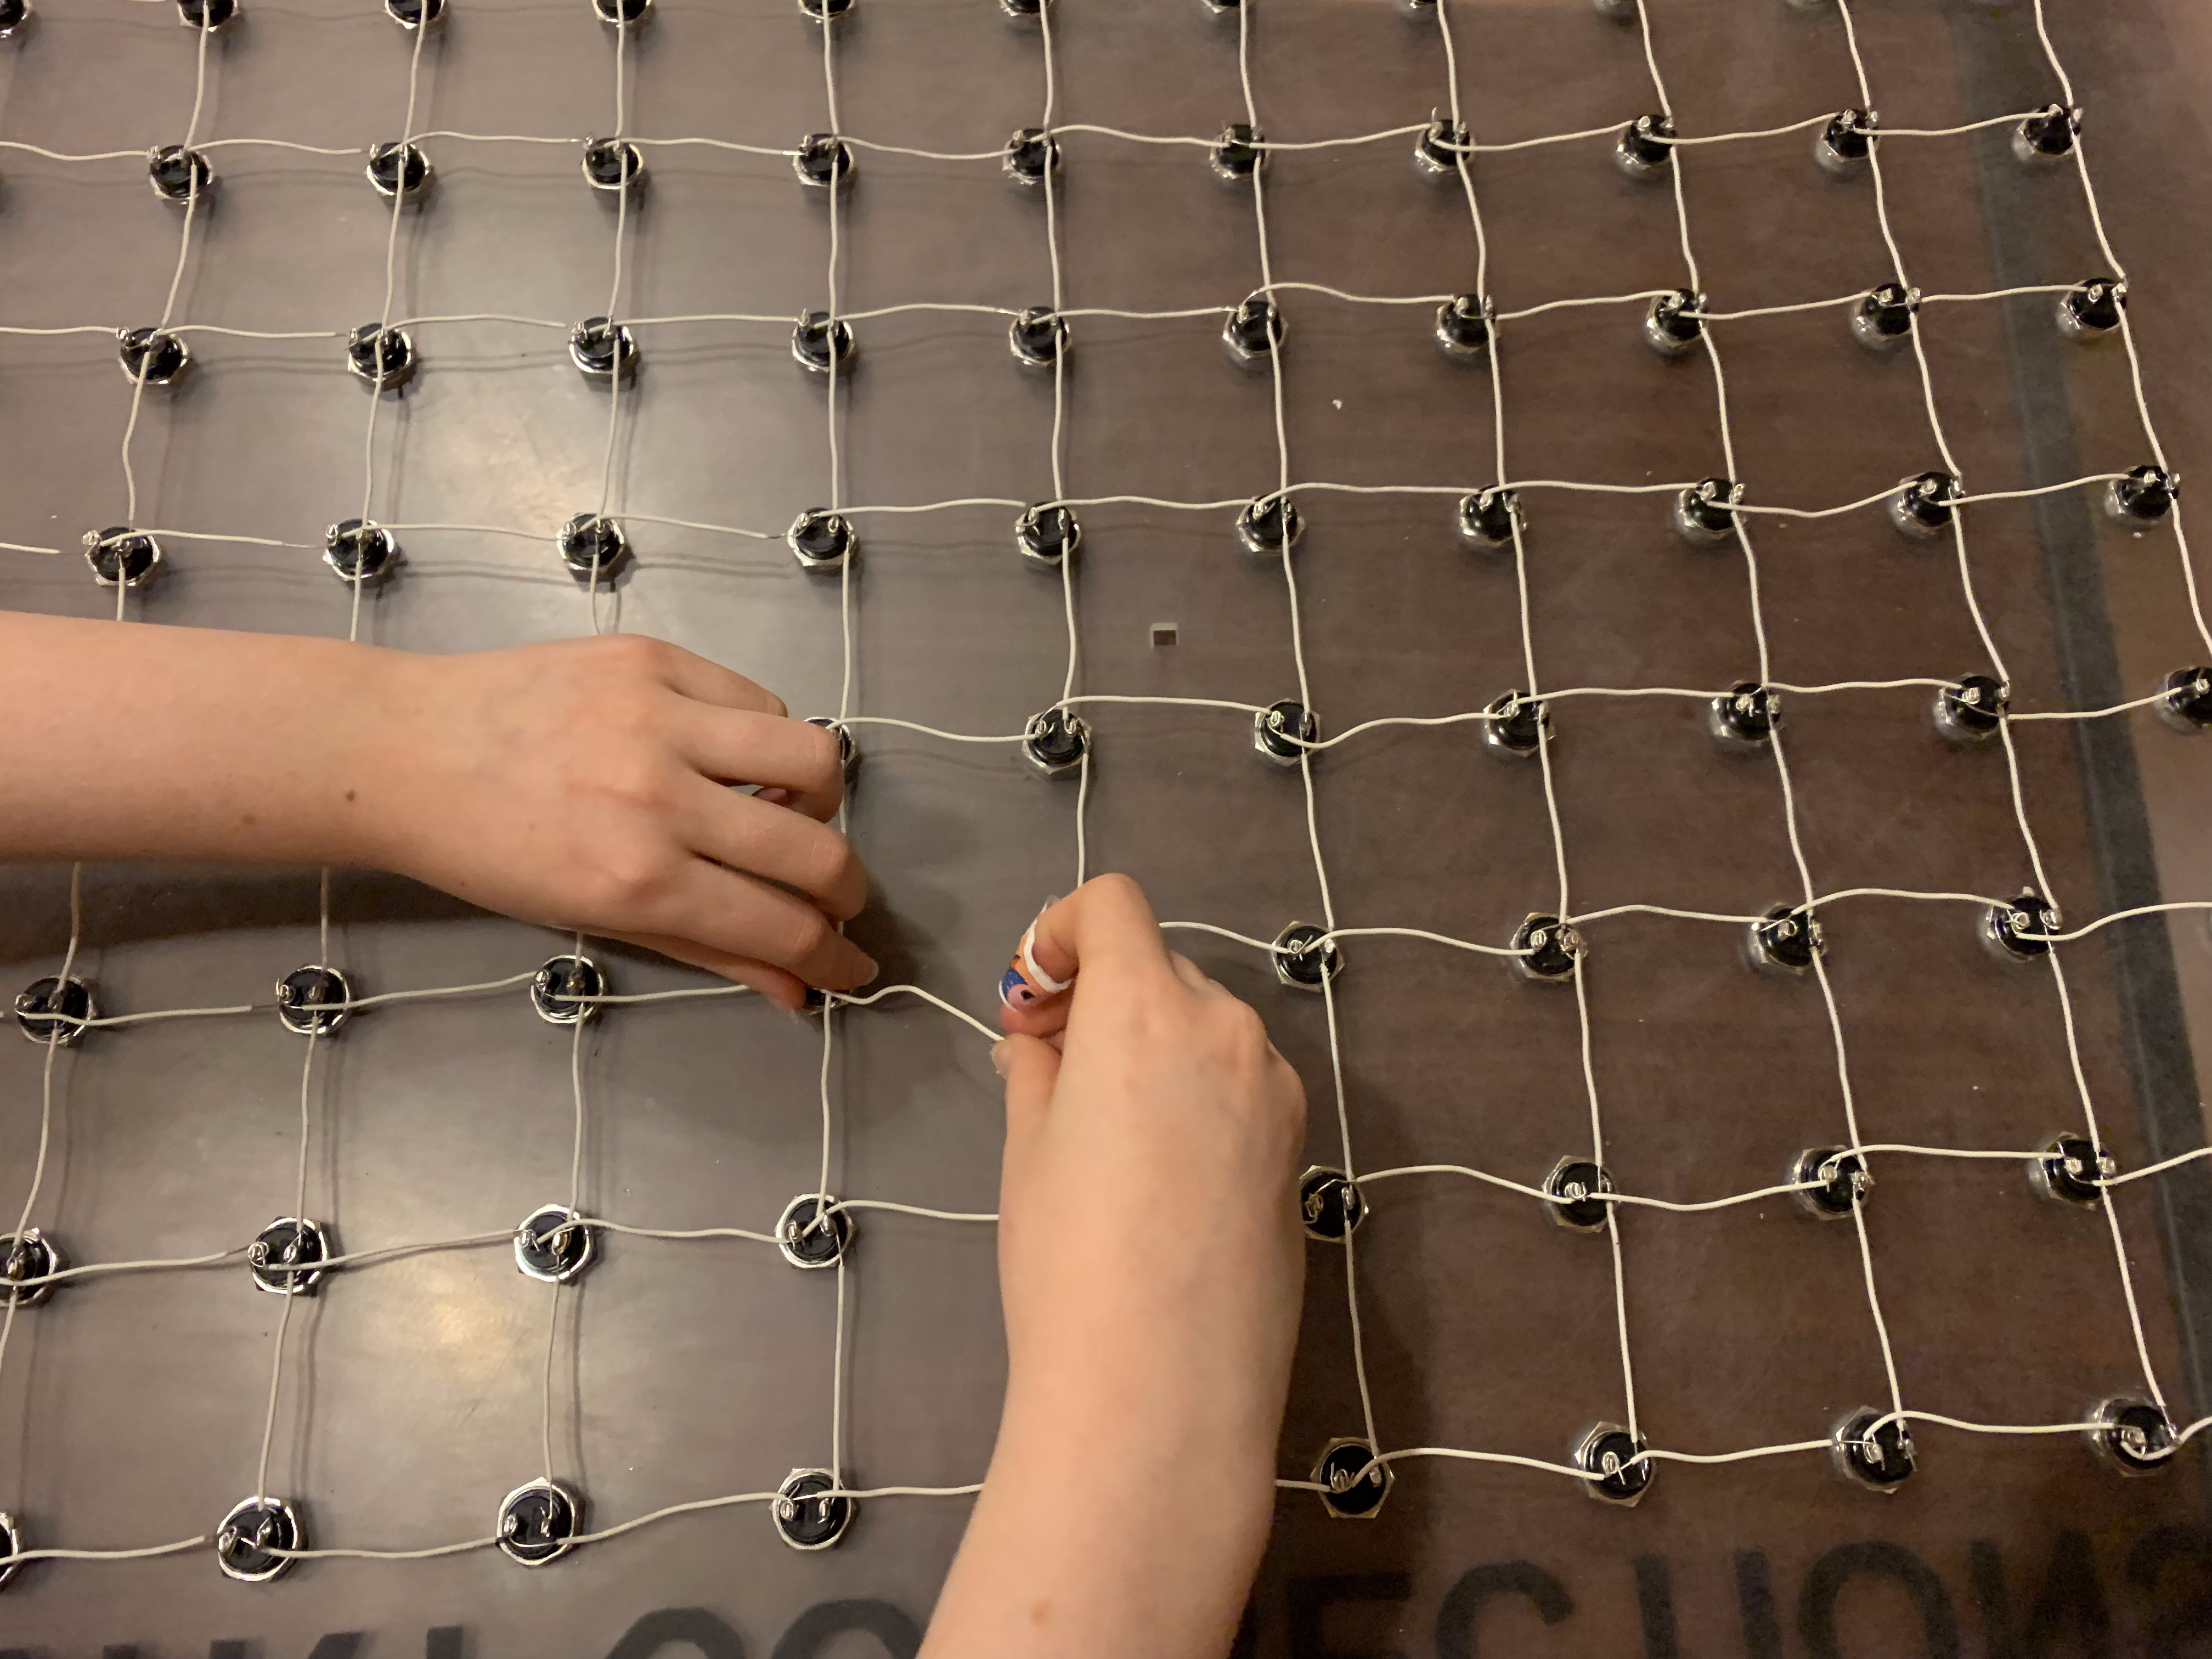
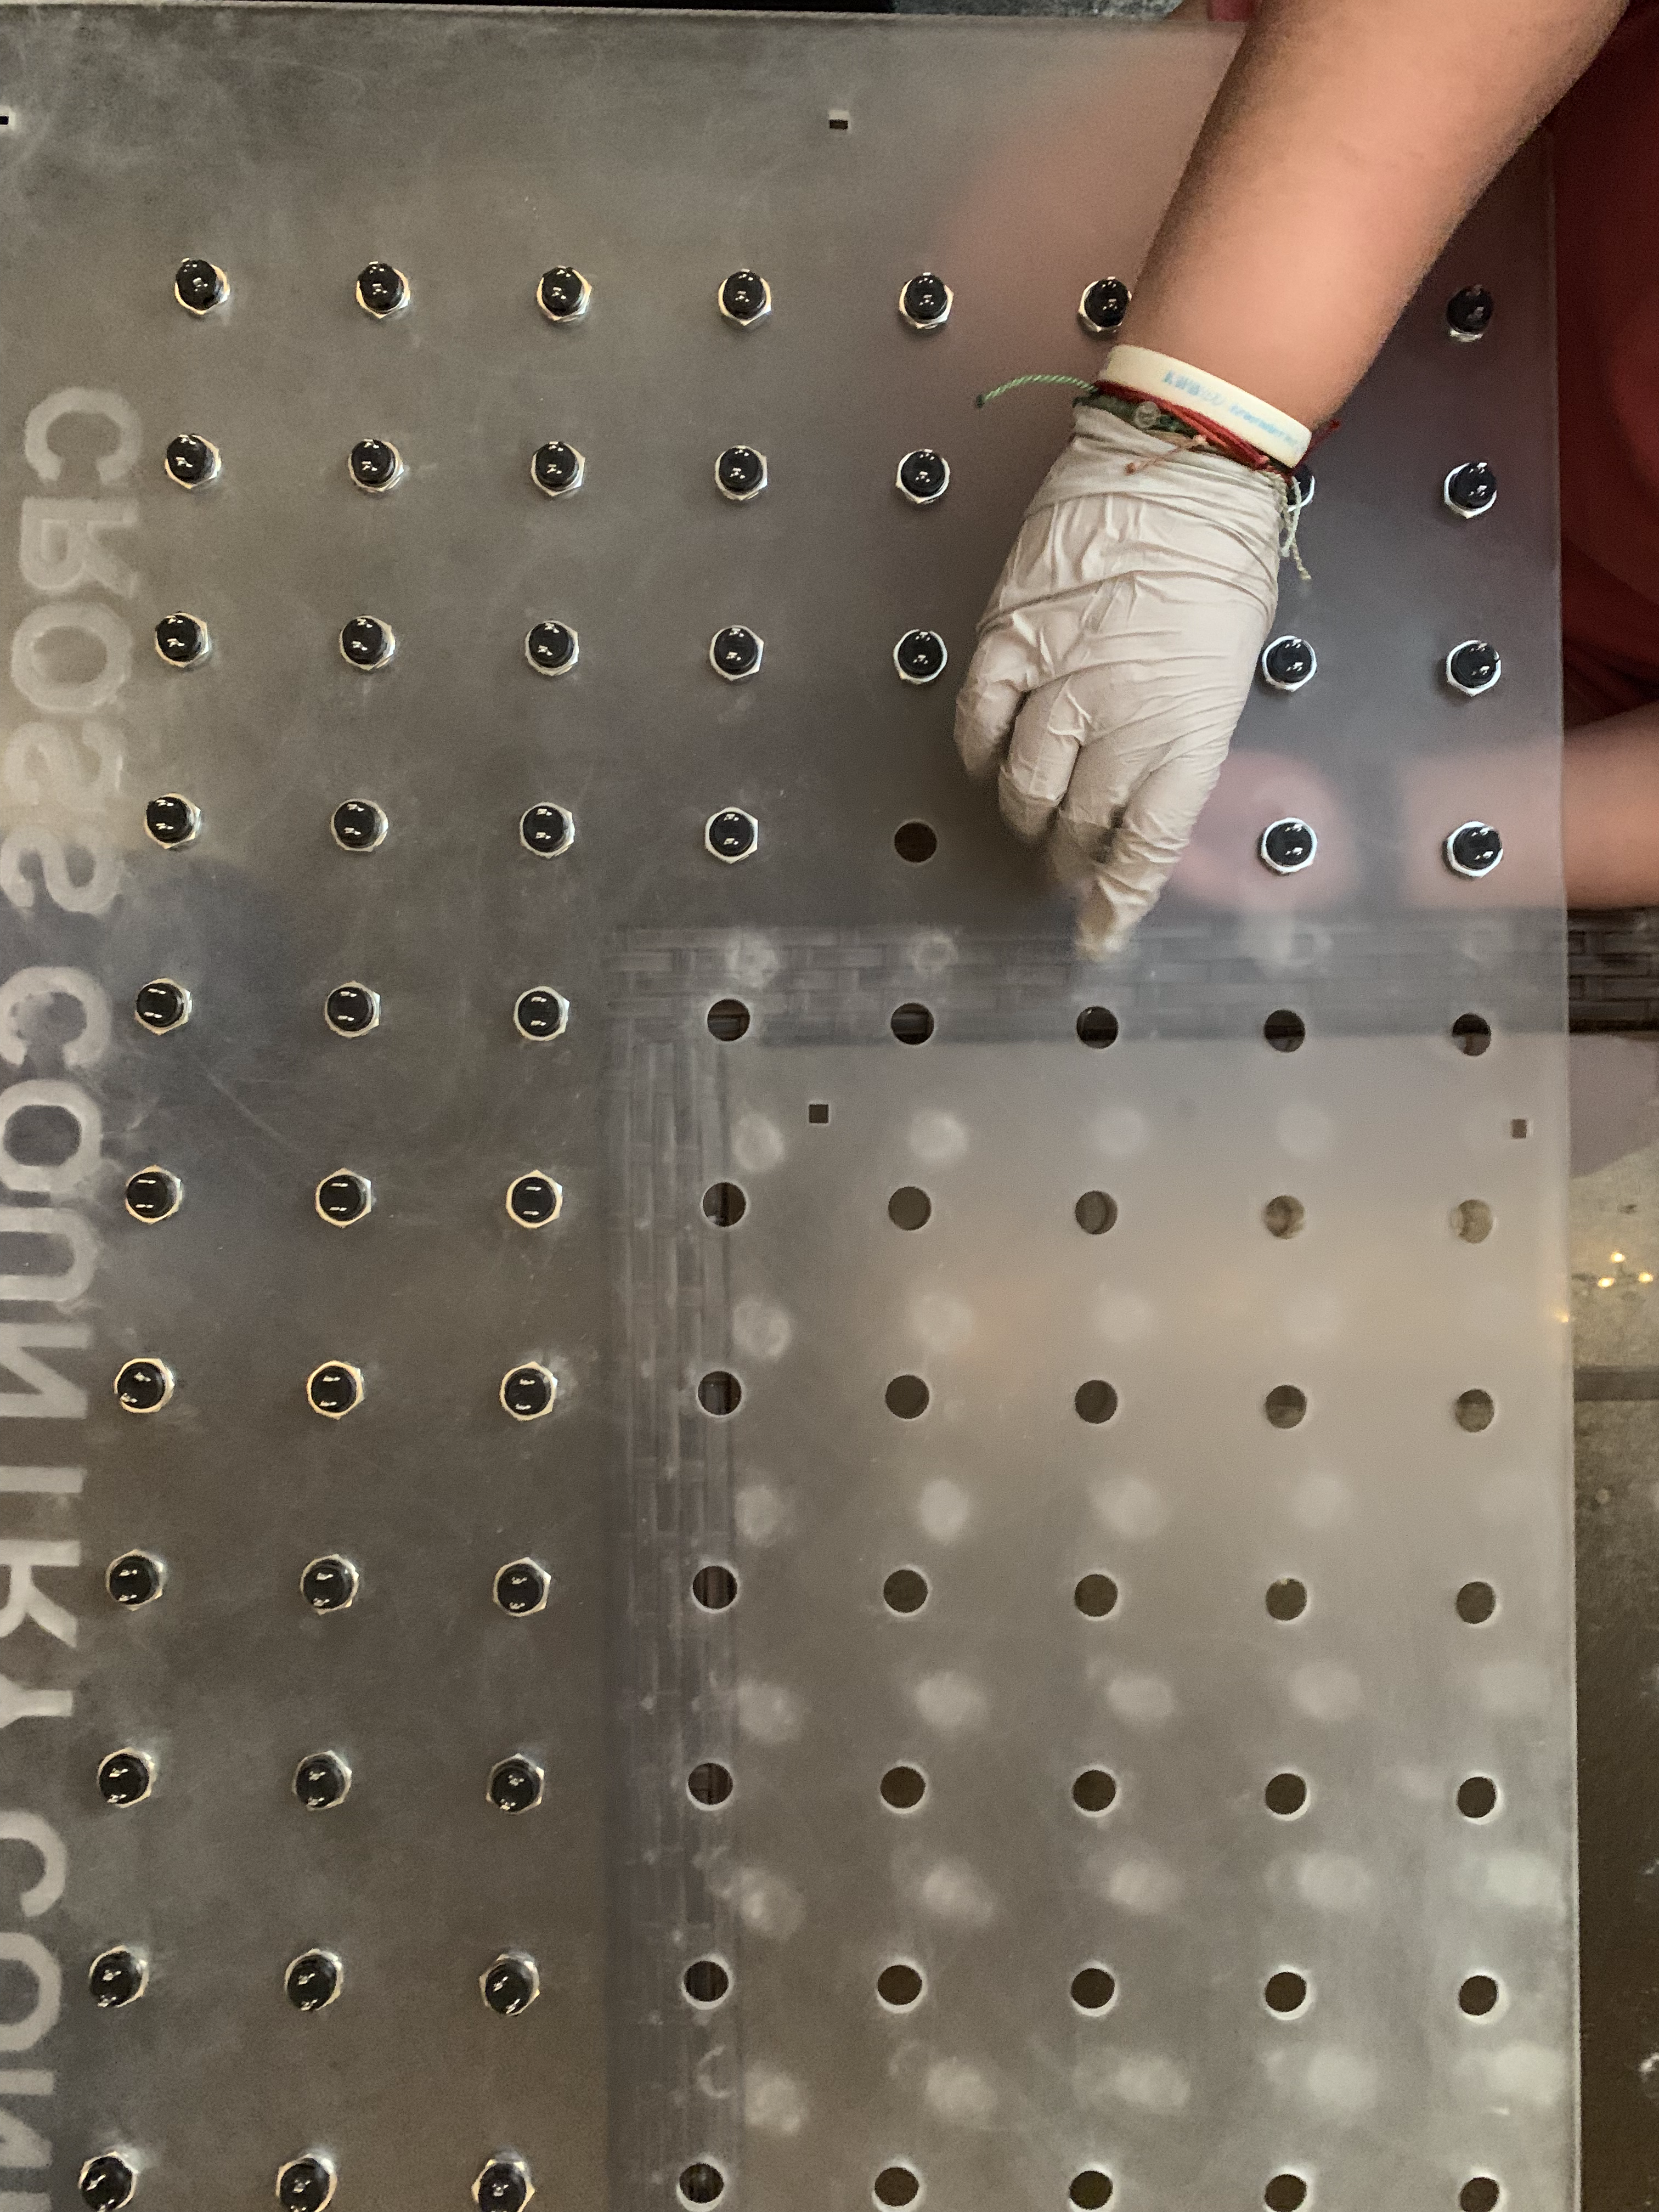

We have laser cut all of our parts and are now moving on to putting all of our components together as well as wiring our buttons and LED strips. We plan to first place our installations in local libraries for a day for initial testing and making sure that everything works. We plan to continue with our original plan to research using a survey. We have also successfully connected our physical models to the digital model on Unity through MQTT. This is the last week that we had planned for our project. Once we make sure that our installations work on the CMU campuses for the fall semester, we plan to potentially transport our installations to a larger public space to conduct our research.
We had a meeting with Westfield to discuss possibly placing our installations in two of their locations for spring semester. We also decided that we would first place our builds in local libraries for the rest of summer in order to make sure everything works as it should. For our final builds, we are continuing to purchase materials, laser cut, and put everything together. To get a better idea of what our final product will look like, we also made a more polished rendering that included LED lights.

Based on communication with potential locations and the IRB application, we decided that we would not be conducting research until the fall semester, as well as possibly placing one of our displays at the World Trade Center next summer to conduct our research. We made a very robust model of our final builds. Michelle has continued testing laser cutting for the final builds.
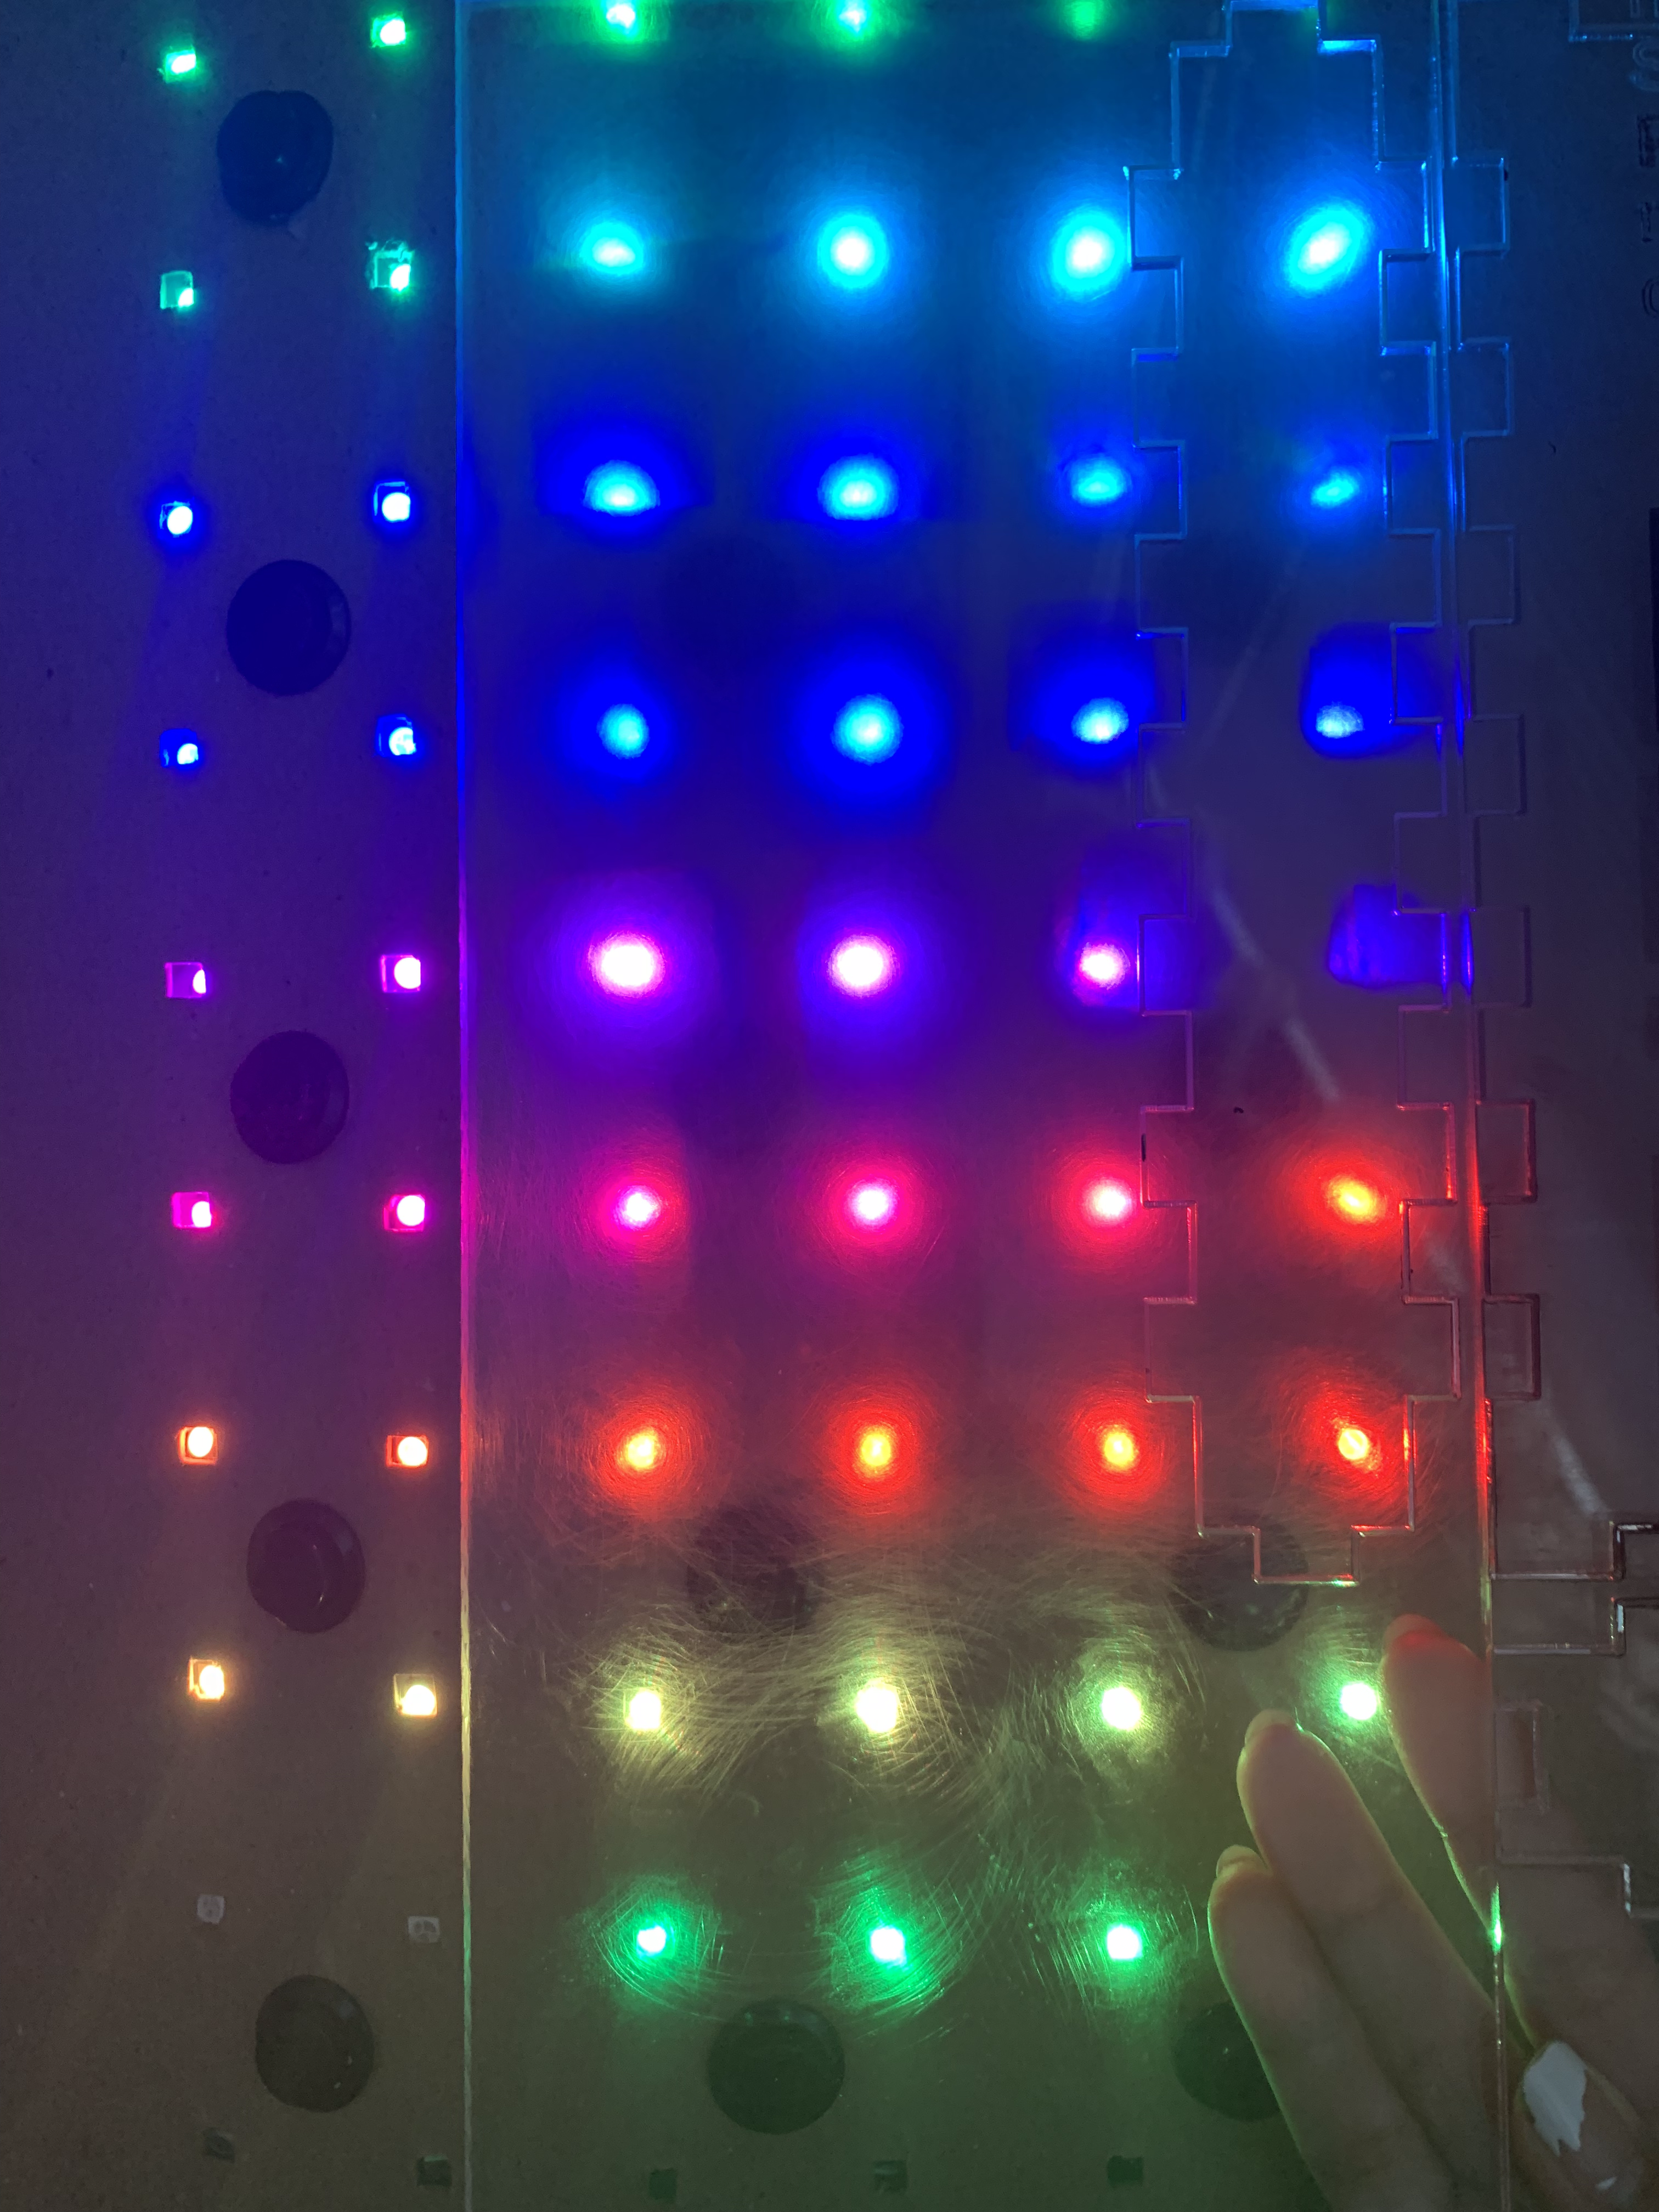
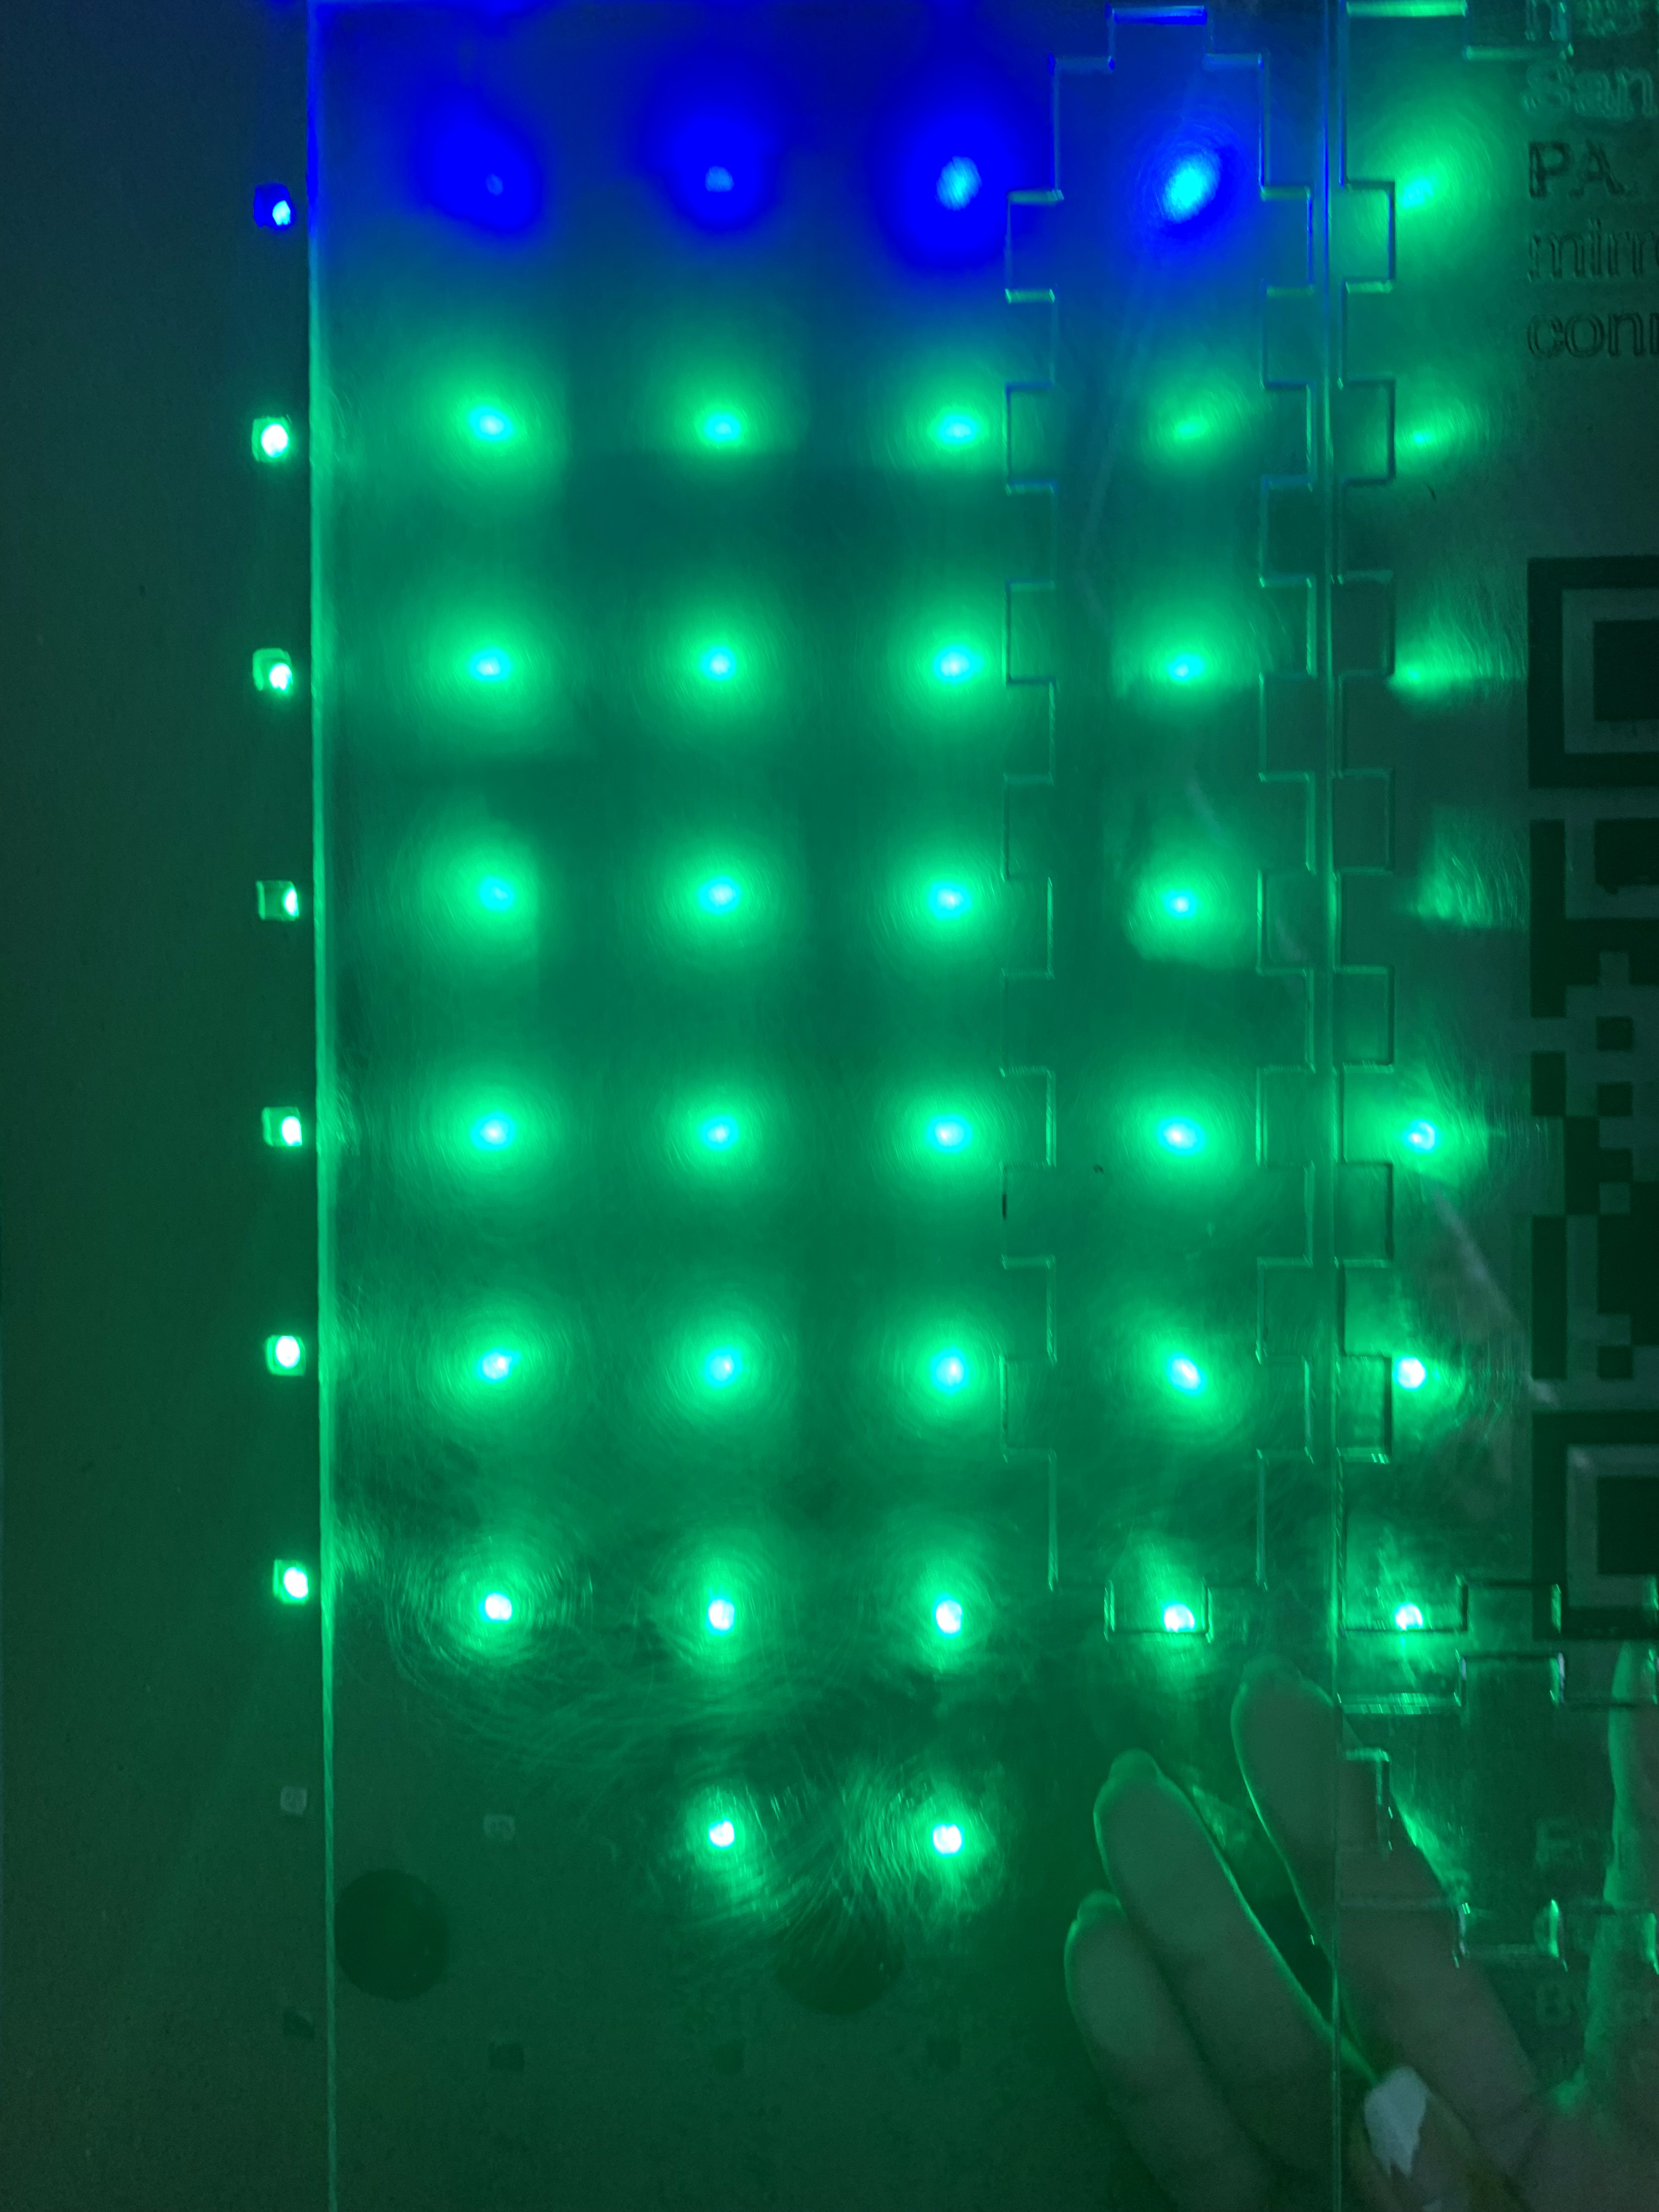

We filled out the IRB application and worked on laser cutting for the final builds. We also realized that we needed mechanical drawings to make laser cutting much easier, which we plan to do in the following week with Fusion 360. Michelle tested out different distances between the lights and the acrylic to test the diffusion.
We conducted some user testing within our families and found that with the prototypes, they quickly got bored. To prevent this, we thought of some other ways that people could interact, such as tic tac toe, displaying scrolling words, and pictionary. Additionally, we went over fabrication ideas, such as spray painting the wood backer to match the LED strips and providing enough current to the multiple LED strips. We also continued looking for places to put our displays.
The prototype is finished! Erica and Michelle are able to see when the other pushes a button. We plan to use the same materials as the prototype for the final product. A few people that we have contacted have not yet responded.
With MQTT, we found that we could log the different phases of the button presses throughout the day. This could mean that we could possibly connect the digital prototype to the physical installations.
We also began to think about other things we could add, such as being able to play tictactoe and giving users the ability to choose a color.
We also plan to make a survey to ask users about their experience after they have interacted with the installations and find out what they found to be the most engaging.


We decided to make it so that when a user presses the button half of the lights will turn on or off and the user on the other installation would turn on/off the other half. We also have a digital prototype made with Unity that could be used to test spacing and how it would look overall. Michelle and Erica worked with Zach on MQTT for Arduino remote connections. As we get closer to the end of the prototyping period, we began looking for possible installation locations.
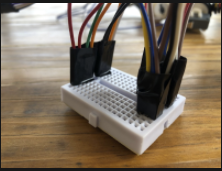
At this point we have received our prototyping materials. We had two different ideas for the design: either the buttons would be in a separate array from the LEDs, or the buttons would be integrated with the LEDs.
From the prototype, we began to consider clear buttons if we wanted an odd number of lights to each button. We also found that we would have to get accurate cuts on the wood for the final product in order for the buttons and lights to be visible.
Since we had 2 prototypes to make, we decided that Michelle would have four lights to one button, while Erica had nine lights to one button.
We also needed to start contacting public spaces for permission to display our project, and we solidified our idea of what kind of place we should place them.
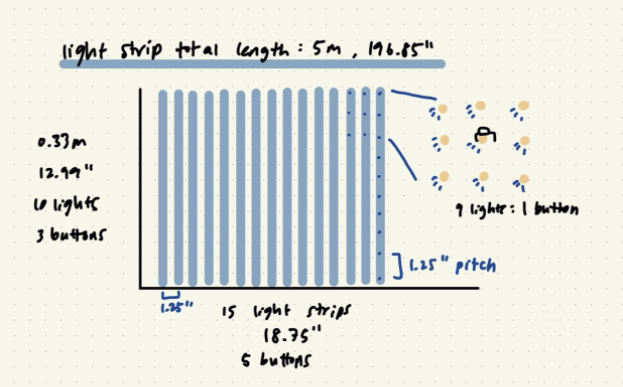
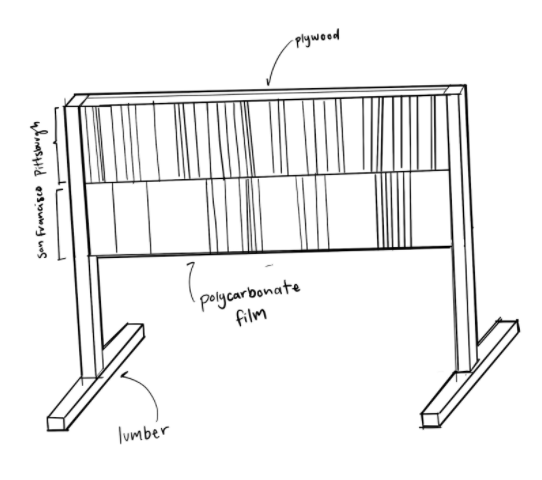
We began to think about how we can make our prototypes in order to answer the questions we posed the week before. First, we made a quick sketch and built a shopping list.
We would definitely need:
To gain more clarity on the direction of our project, we decided to look into a few past projects that can be applied to our project. We looked at Connecting Light, an array of balloons that pulse light, Reddit’s 72 hour virtual art, and Hole-In-Space, a large-scale video call between pedestrians in New York and LA.
After presenting our findings, we discussed the questions regarding the interaction between the user and our display:
We compiled a list of materials for our prototype as well.
We are excited to start our project! We had a vague idea of what we wanted our user interactions to be, which included:
We are also uncertain about the size of our project, who will be interacting with it, and where it will be displayed.